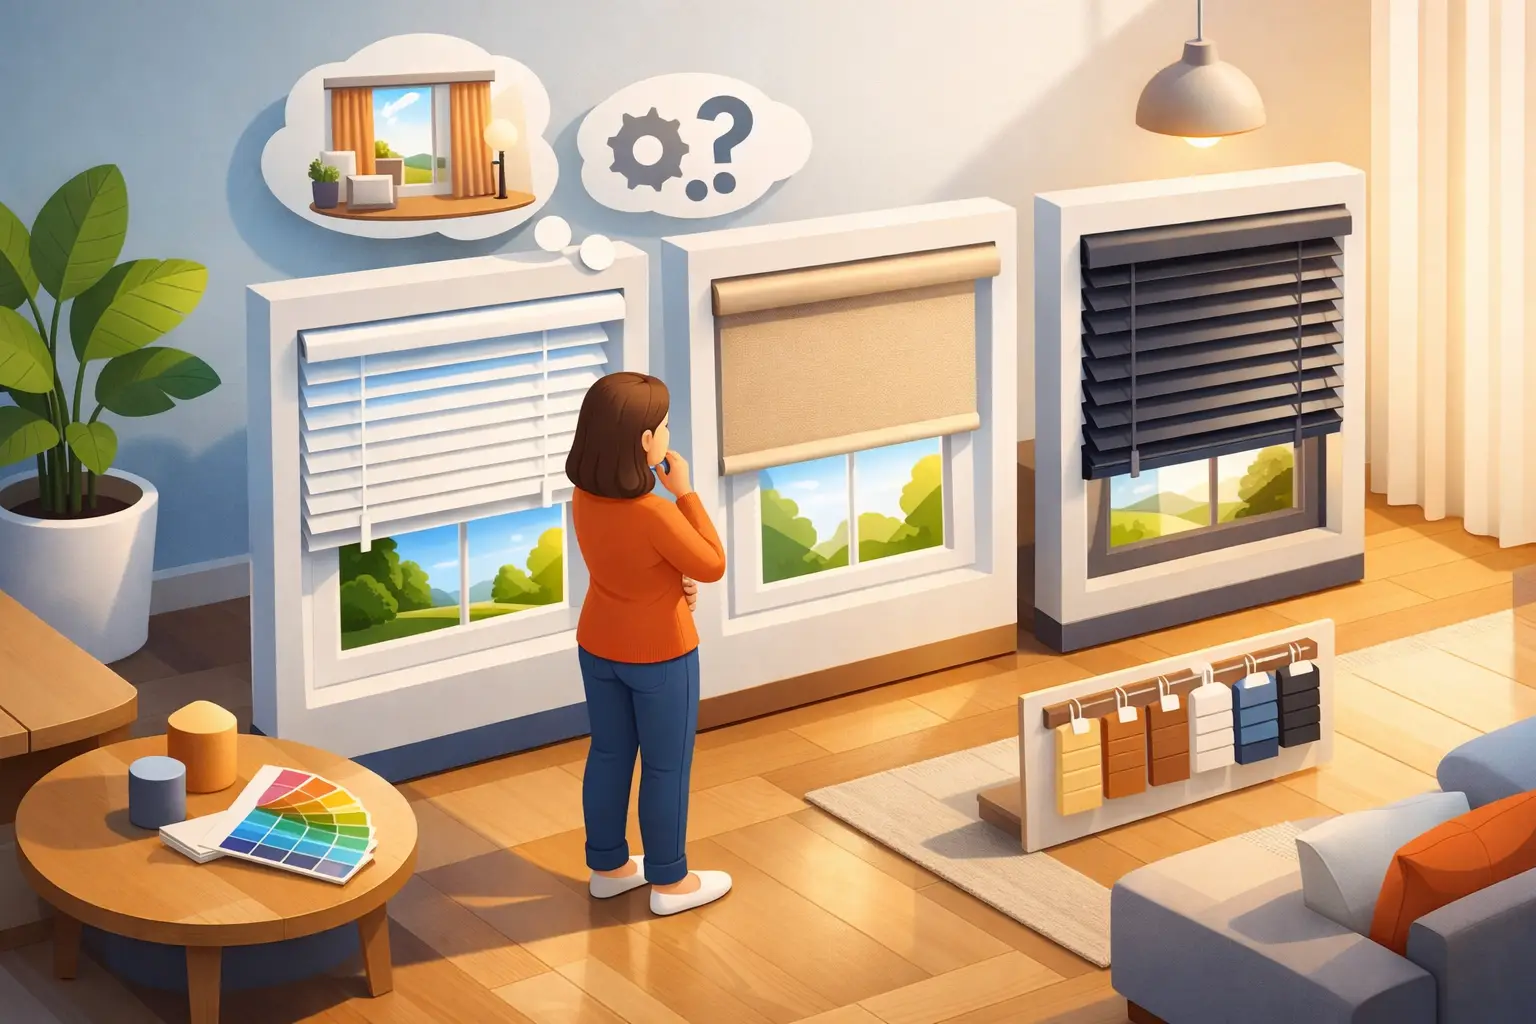
Decorating a home adds up quickly, and window coverings often trigger the biggest sticker shock. Custom shades, drapes, and shutters can drain your wallet before you even finish one room. If you want to elevate your space without emptying your bank account, taking a hands-on approach offers the perfect solution.
Making your own window coverings allows you to achieve a high-end designer look for a fraction of the cost. Whether you rent an apartment or own a house, crafting Budget-Friendly DIY Blinds gives you total control over the style, fit, and function of your windows. You do not need an advanced degree in interior design to tackle these projects. With a few simple materials and a little creativity, you can transform bare, boring windows into stunning focal points.
Read on to discover practical, cost-effective DIY window treatments that look professional and keep your home décor on a budget.
Why Choose Budget-Friendly DIY Blinds
Opting for homemade window treatments goes far beyond simply saving cash. Building your own shades and curtains provides several distinct advantages that store-bought options simply cannot match.
Significant Cost Savings
Professional window treatments cost hundreds or even thousands of dollars per window. When you choose cheap blinds ideas and build them yourself, you only pay for raw materials. You eliminate labor costs, markup fees, and shipping charges. This leaves you with extra money to spend on higher-quality fabrics or other home improvement projects.
Endless Customization Options
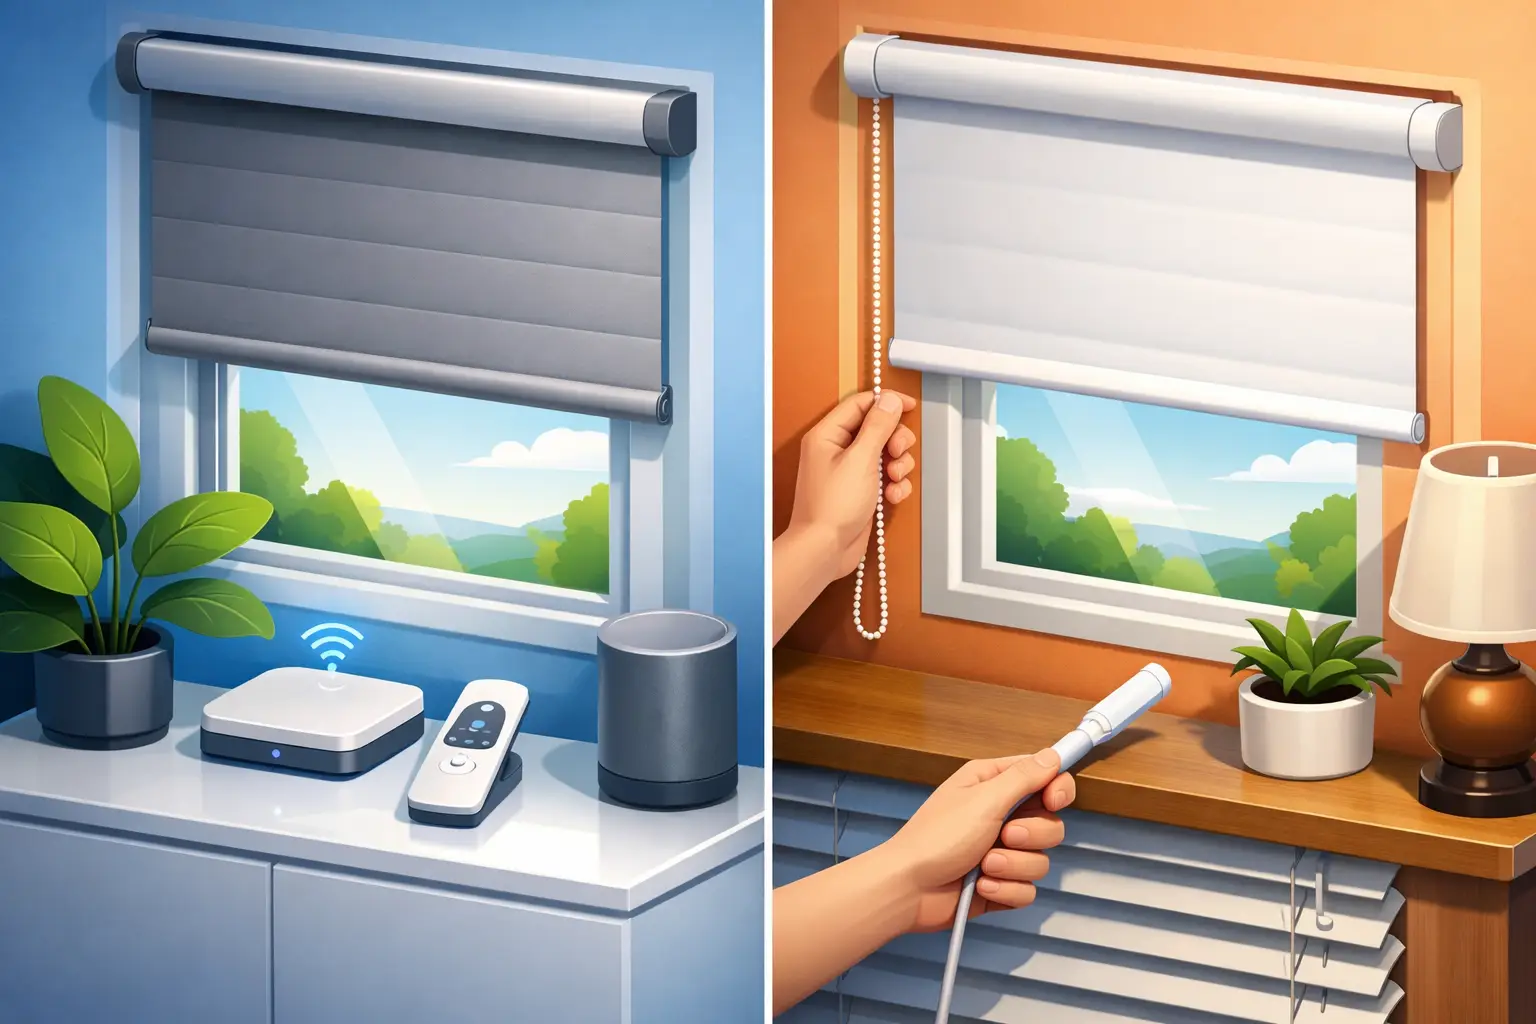
Store shelves limit you to standard sizes, neutral colors, and basic patterns. Creating your own treatments lets you match your exact aesthetic. You can choose bold prints, specific textures, or unusual lengths that perfectly fit uniquely shaped windows. You control the exact amount of light filtering and privacy you need.
Easy Home Upgrade Without Professionals
You do not need to hire a contractor or an installer to hang gorgeous window coverings. Most DIY methods require only basic tools like scissors, measuring tape, and a staple gun. You can easily complete these projects over a single weekend, giving your living space an immediate, satisfying refresh.
Best DIY Window Treatment Ideas on a Budget
You can craft beautiful window coverings using a variety of clever methods. Here are five practical, stylish ideas that look expensive but cost very little.
No-Sew Curtain Blinds
Not everyone knows how to operate a sewing machine, and that is perfectly fine. You can create elegant fabric panels using heat-activated hem tape. Simply measure your fabric, fold the edges, and iron the hem tape to create clean, finished seams. Hang these panels using clip rings on a standard curtain rod for an effortlessly chic look.
DIY Roman Shades Using Old Materials
Roman shades add a classic, tailored look to any room. You can build your own by upcycling cheap vinyl mini-blinds and attaching your preferred fabric. You simply remove the extra slats, space the remaining ones evenly, and use fabric glue to attach your material to the front. When you pull the lift cord, the fabric folds up neatly, mimicking the look of custom-made Roman shades.
Bamboo-Style DIY Blinds
Natural textures bring warmth and character into your home. You can make your own bamboo-style shades by purchasing inexpensive bamboo fencing or thin wood slats from a hardware store. Cut the material to your window’s width, bind the edges with a durable canvas trim, and hang them using a simple hook-and-eye system. This creates a highly sought-after organic look.
Fabric Roll-Up Shades
Roll-up shades offer a casual, relaxed vibe perfect for kitchens, bathrooms, and sunrooms. To make these, you need a piece of sturdy fabric, a tension rod, and two long pieces of ribbon. Drape the fabric over the tension rod inside your window frame. Loop the ribbons over the top and let them hang down the front and back. Roll the fabric up from the bottom and tie the ribbons into bows to hold the shade in place.
Repurposed Materials for Window Coverings
True DIY window treatments thrive on creativity. Look around your house for items you can repurpose. Canvas drop cloths make excellent, durable, farmhouse-style curtains. Vintage grain sacks, large silk scarves, or even beautifully patterned flat bedsheets can transform into stunning window panels. Repurposing these items keeps waste out of landfills and gives your home a unique story.
Step-by-Step DIY Blinds Guide
Ready to try making your own Budget-Friendly DIY Blinds? Let us walk through a simple, beginner-friendly method: the tension rod fabric roll-up shade. This project requires no sewing, no drilling, and works perfectly for renters.
Tools and Materials Needed
- Medium-weight fabric (cotton or canvas works best)
- Fabric scissors
- Measuring tape
- Iron-on hem tape and an iron
- A tension rod that fits your window frame
- Two spools of thick, decorative ribbon
- Fabric glue
Simple Steps for Creating a Basic DIY Blind
- Measure the Window: Measure the inside width and length of your window frame. Add two inches to the width and three inches to the length to account for your hems.
- Cut and Hem the Fabric: Cut your fabric to the measured dimensions. Fold a one-inch border around all four sides. Place the iron-on hem tape under the fold and press it with a hot iron to create a clean, finished edge.
- Create the Rod Pocket: Fold the top edge of the fabric down about two inches. Apply fabric glue along the very edge of the fold to secure it, leaving the sides open. This creates a tunnel (or pocket) for your tension rod.
- Attach the Ribbons: Cut two pieces of ribbon. Each ribbon should be twice the length of your window plus an extra foot for tying. Drape the ribbons evenly over the tension rod.
- Hang and Roll: Slide the tension rod through the fabric pocket. Place the tension rod securely inside your window frame. The ribbons will hang down the front and back of the fabric. Hand-roll the fabric up from the bottom to your desired height, and tie the front and back ribbons together in a neat bow.
Styling Tips for a Professional Look
Creating Budget-Friendly DIY Blinds is only half the battle. How you style them determines whether they look homemade or high-end. Use these expert interior design strategies to elevate your windows.
Layering Curtains and Blinds
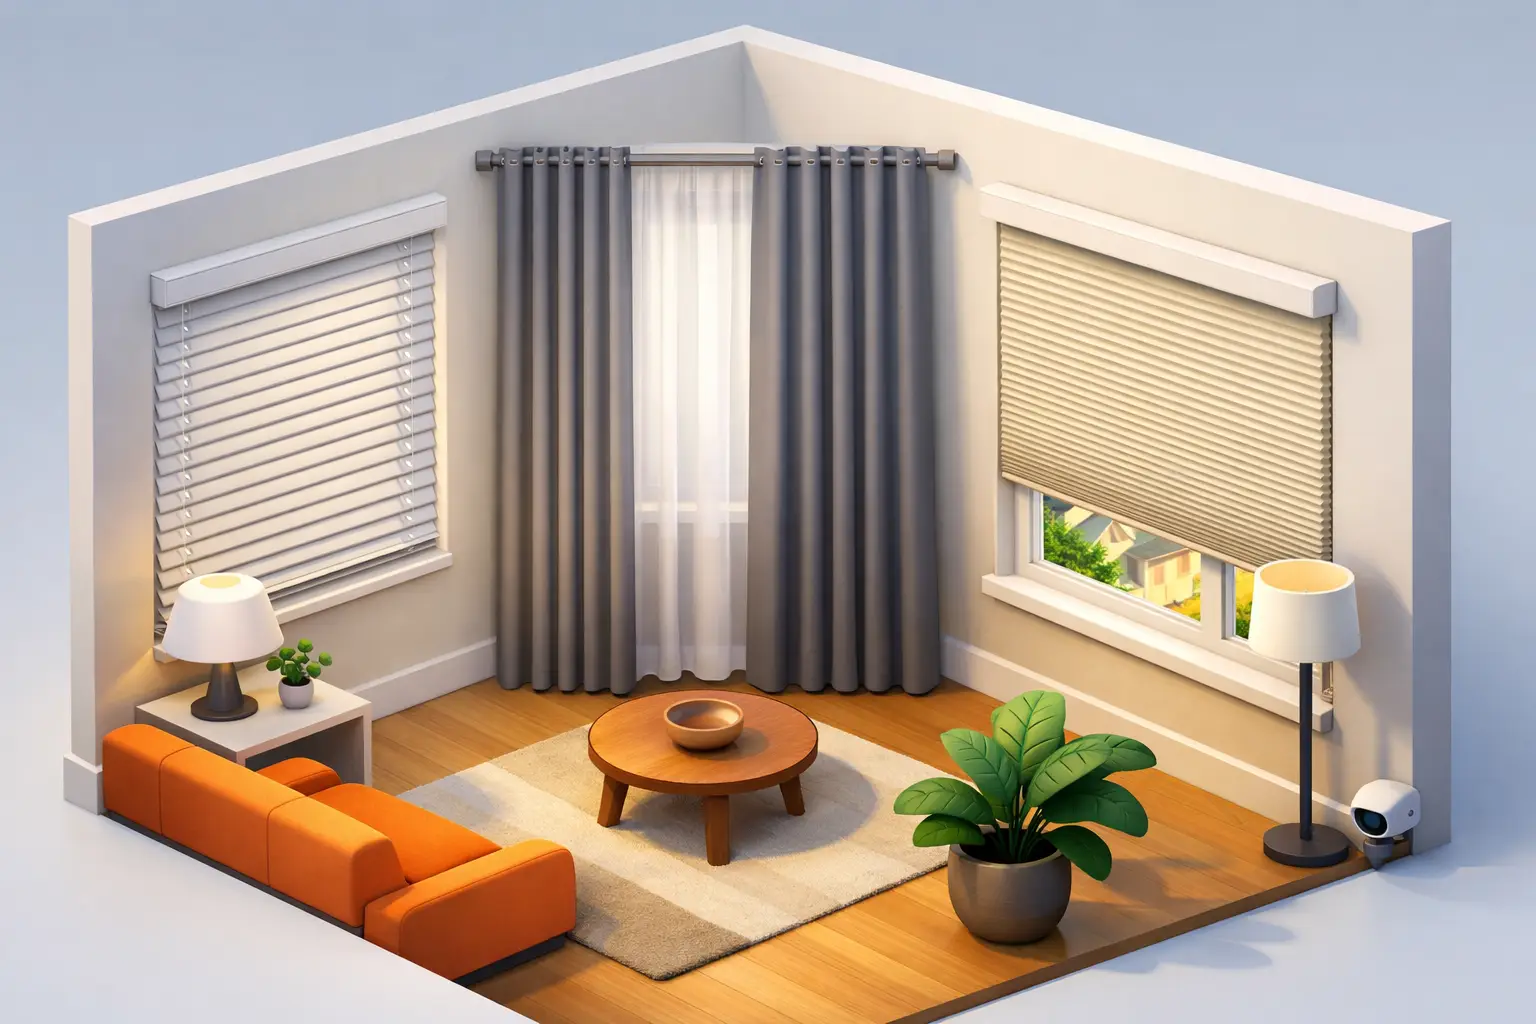
Layering adds depth, texture, and a luxurious feel to your room. Pair a sleek DIY Roman shade with sweeping floor-length curtain panels. Use a light-filtering shade as the base, and frame the window with heavier drapes. This combination tricks the eye into thinking the window is larger and the ceilings are higher.
Choosing Colors and Textures
Select fabrics that complement your existing furniture and wall colors. If your room features solid, neutral tones, use your window treatments to introduce a bold pattern or a rich texture like linen or velvet. If your room already has busy wallpaper or heavily patterned rugs, opt for solid, subtle fabrics that allow the eyes to rest.
Improving Light Control and Privacy
Consider the function of the room before you select your materials. Bedrooms require total darkness for good sleep, so add a layer of blackout lining to the back of your DIY shades. For living rooms and kitchens, choose lightweight, sheer cottons that filter harsh sunlight while still keeping the space bright and welcoming.
Common Mistakes to Avoid
Even the simplest DIY projects can go sideways if you rush the process. Avoid these frequent pitfalls to ensure your window treatments look flawless and function perfectly.
Wrong Measurements
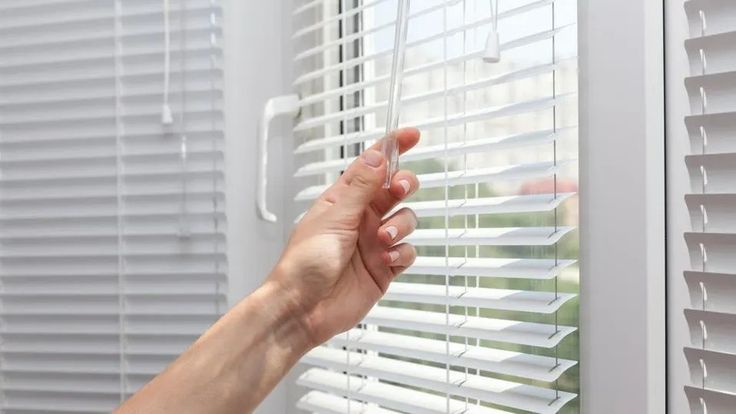
Measuring incorrectly ruins more DIY window treatments than anything else. Never assume your window is perfectly square. Measure the width at the top, middle, and bottom of the frame. Measure the length on the left, right, and center. Always use the narrowest measurement for an inside mount to ensure your shade actually fits. Write everything down immediately.
Cheap Material Issues
Building home décor on a budget does not mean using the lowest quality supplies you can find. Extremely thin, cheap fabrics will fade quickly in direct sunlight and tear under daily use. Invest in medium-to-heavyweight fabrics. If you upcycle cheap vinyl blinds to make Roman shades, check that the lift cords still operate smoothly before you glue anything down.
Poor Installation Choices
Failing to secure your hardware leads to falling curtains and damaged walls. If you mount hardware outside the window frame, always use wall anchors when you cannot drill directly into a wall stud. If you use tension rods, ensure you purchase one rated for the weight of your specific fabric. A heavy canvas drop cloth will pull down a flimsy, lightweight tension rod.
Conclusion
Upgrading your home does not require draining your savings account. By creating Budget-Friendly DIY Blinds, you take control of your interior design while keeping costs remarkably low. These projects allow you to express your personal style, perfectly fit unusual windows, and gain the satisfaction of building something beautiful with your own two hands.
From no-sew curtain panels to clever tension-rod shades, the possibilities are entirely up to your imagination. Avoid common measuring mistakes, choose durable materials, and try layering your new shades with existing drapes for a rich, professional finish. Grab your measuring tape, pick out a gorgeous fabric, and start transforming your windows today.