A bay window can be the architectural focal point of a room, but it is also one of the easiest places to make an expensive measuring mistake. Three connected windows, angled walls, projecting sills, and surrounding trim all affect how a finished treatment will look and operate. Knowing how to measure bay windows gives you a better starting point for custom shades, blinds, shutters, or drapery – and helps you recognize when a professional site visit is the wiser choice.
Start With the Treatment, Not the Tape Measure
The same bay window needs different measurements for different treatments. A cellular shade mounted inside each opening requires clear, accurate inside dimensions. Shutters need enough depth to frame, open, and tilt without colliding at the corners. Drapery is usually measured from a wider area outside the openings, with room for a rod, returns, and fabric stack-back.
Before writing down a number, decide whether you want each window treated individually or the entire bay dressed as one composition. Individual shades or blinds offer precise light control and a clean, tailored look. A continuous drapery treatment can soften the angles and add visual luxury. Many Northern Virginia homeowners choose both: functional shades or shutters at the glass, paired with stationary drapery panels for warmth and finish.
Tools You Need to Measure Bay Windows
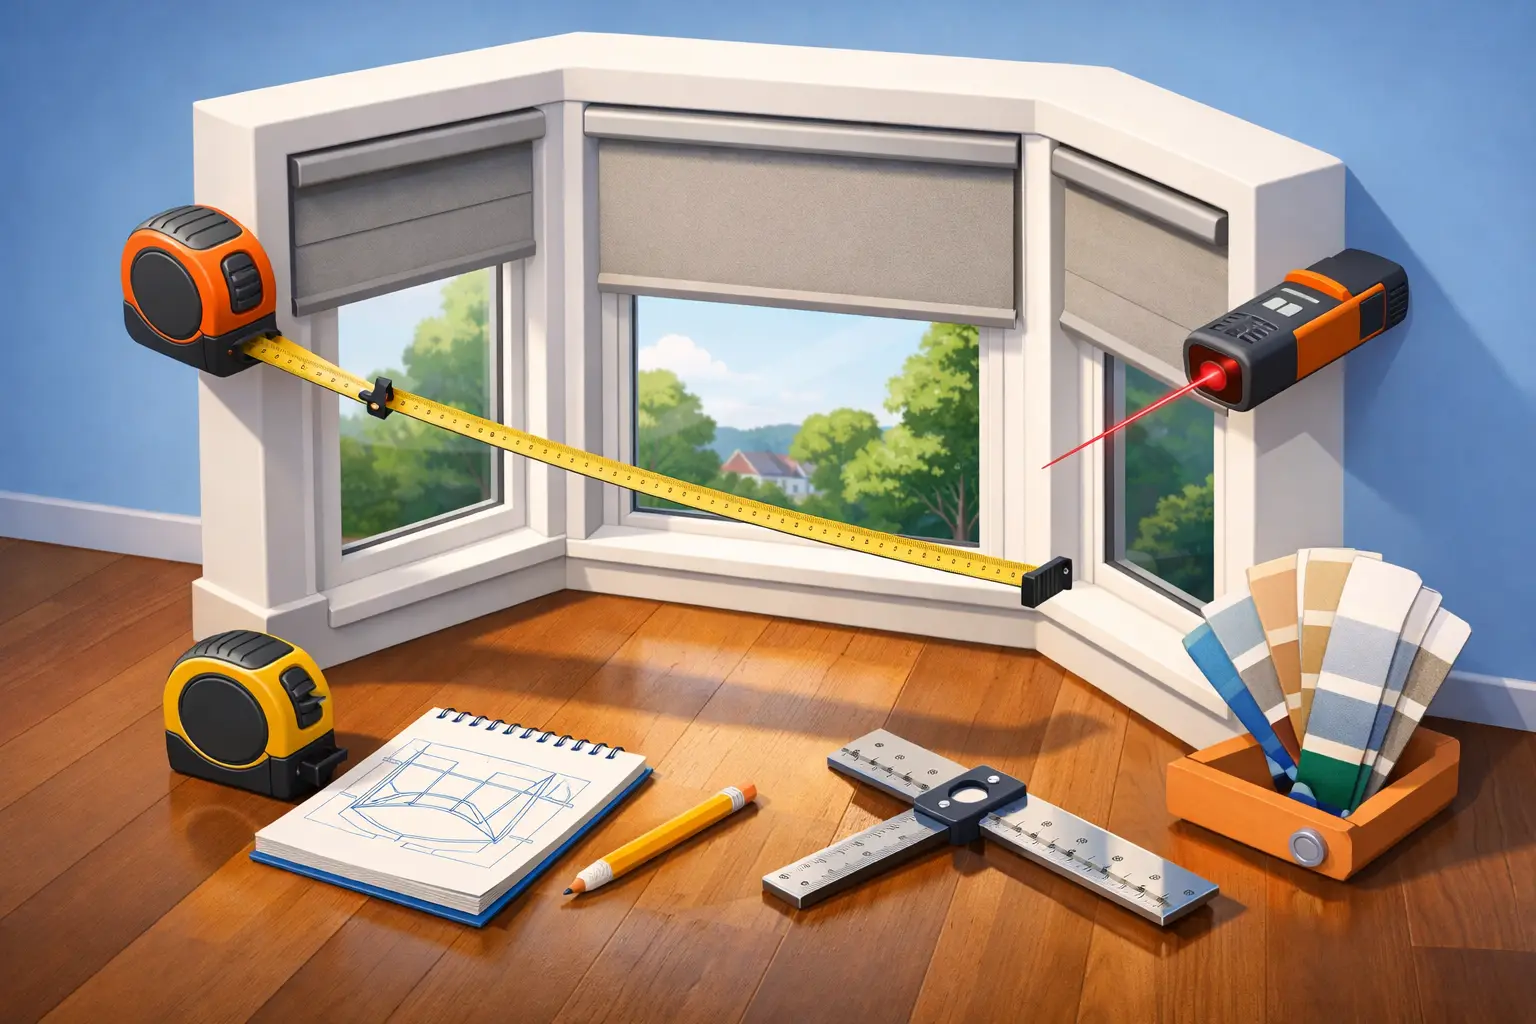
Use a quality steel tape measure with clear 1/16-inch markings, a pencil, paper, and a level if you have one. A laser measure can be useful for checking larger exterior spans, but it should not replace a tape measure at the window itself. Small differences matter when treatments meet at an angle.
Measure in inches and record the width first, then the height. Label each opening clearly: left, center, and right, as viewed from inside the room. Do not assume the two side windows match. In older homes and even newer custom construction, openings can vary by enough to affect fit.
How to Measure Bay Windows for Inside-Mounted Treatments
Inside mounting places the treatment within each individual window opening. It is a popular choice for blinds, roller shades, cellular shades, Roman shades, and some shutter configurations because it preserves trim and creates a crisp, built-in appearance.
Measure each opening at three points
For the left, center, and right openings, measure the width at the top, middle, and bottom. Record all three numbers. For most inside-mounted products, the narrowest width is the working measurement because it accounts for openings that are slightly out of square.
Then measure the height in three places: left, center, and right. Record the longest height. Manufacturers use these figures differently depending on the product, so do not make deductions unless the product instructions specifically require them. Custom workrooms and installers typically make the appropriate clearance adjustments.
Depth deserves equal attention. Measure from the front edge of the window opening to the first obstruction, such as a handle, crank, security sensor, or projecting trim. Some products can be partially recessed in a shallow opening; others need greater depth for a true inside mount. A shade that technically fits but protrudes awkwardly may not deliver the polished result you expected.
Check the corner clearance
The defining challenge of a bay window is the space where treatments meet. Measure from the corner of one opening to the corner of the next, and note the angle between the windows. If you do not have an angle finder, take a clear photo from above or below the sill and note whether the sides are sharply angled, gently angled, or nearly square to the center window.
Why does this matter? The headrails, cassette valances, shutter frames, and operating handles need physical room. Two products may fit in their individual openings but interfere when raised, tilted, or opened. This is especially common with larger blinds, plantation shutters, and shades with decorative fascia.
For an inside-mounted treatment, also look for obstructions that can make one window behave differently from the others. Crank-out casement handles, recessed locks, uneven drywall returns, and deep window stools should all be documented before ordering.
Measuring for Outside-Mounted Blinds and Shades
Outside mounting is often the better answer when window openings are shallow, out of square, or interrupted by hardware. It can also make a small bay feel larger by extending the visual line beyond the glass.
For each opening, measure the width of the area you want the treatment to cover, rather than the inside opening alone. A common approach is to add overlap beyond the glass on both sides for better privacy and light control. The right amount depends on available wall space, adjacent trim, and how close the windows sit at the bay corners.
Measure the height from the intended mounting point to the desired bottom point. That may be the sill, the bottom of the trim, or below the sill for a more elongated look. Keep in mind that outside-mounted treatments need solid mounting surfaces. Decorative trim, drywall, and narrow wall returns may require different brackets or a different design.
In a closely angled bay, the outer edges of two side treatments can compete for the same wall space. This is where a drawing becomes helpful. Sketch the bay from above, mark the width of each treatment, and show where the brackets and headrails will sit. A beautiful room should not end up with one shade blocking another from operating.
Measure the Bay as a Whole for Drapery and Curtains
Drapery measurements are less about the glass and more about the finished architecture of the room. Start by deciding whether the rod will follow the bay’s angles or span across the front of it. An angled rod follows the shape of the bay and highlights the window’s architecture. A straight rod across the front can create a more dramatic, simplified wall of fabric, though it may reduce access to the sill or individual windows.
For an angled rod, measure each wall segment from corner to corner at the planned rod height. Measure the return – the distance from the front of the rod to the wall – as well. This detail affects where panels sit when open and how much fabric is needed.
For a straight rod, measure the full width from the far left endpoint to the far right endpoint, including any planned extension beyond the window. Then measure from the rod location to the finished floor, sill, or apron. Floor-length panels usually look most refined when they are measured after flooring, rugs, and furniture placement are considered.
Do not forget stack-back. When drapery panels open, they need a place to rest. If you want to preserve as much daylight and view as possible, allow room beyond the outer windows for the fabric to stack. In a bay with limited side wall, stationary panels or a combination of drapery and shades may be more practical than fully functional panels.
Common Bay Window Measuring Mistakes
The most common mistake is measuring only the center window and assuming the side windows are identical. The next is ordering an inside mount without checking depth and corner interference. Both can lead to a treatment that looks cramped or cannot operate properly.
Another frequent issue is confusing the window frame with the usable opening. For inside mount, measure the opening where the product will actually sit. For outside mount, measure the planned coverage area and bracket location. Those are different dimensions, and mixing them up can change the finished look dramatically.
Homeowners also sometimes deduct space on their own because they have heard that blinds need clearance. That deduction may be correct for one product and wrong for another. Custom shutters, woven shades, motorized shades, and roller shades all have different hardware requirements. Record the real opening sizes first, then let the product specification determine any adjustment.
Finally, do not overlook the practical realities of the room. A deep window sill may be a favorite place for plants. A side panel may need to clear a radiator. A motorized shade may need access to power or a clean path for charging. Measurements should support how you live in the space, not just what looks good in a photo.
When Professional Measuring Is Worth It
Bay windows are one of the strongest cases for professional measurement, particularly when you are investing in wood shutters, motorized shades, layered drapery, or treatments with large headrails. A trained consultant can assess angles, depth, trim, operating clearance, light gaps, mounting surfaces, and the way separate treatments will meet across the bay.
That guidance is also valuable when design decisions are still open. A treatment that appears perfect online may not suit a shallow casement opening or a sharply angled corner. Seeing fabric, finishes, and hardware in your own daylight makes it easier to balance privacy, energy efficiency, and the level of luxury you want.
At Covering Windows, an in-home consultation turns those measurements into a complete plan, with product samples, design advice, custom specifications, and professional installation. The goal is not simply to cover three windows. It is to make the entire bay feel intentional, balanced, and beautifully finished.
A careful measurement is the first step, but the best bay window treatments also respect the room around them: the view you want to keep, the light you want to soften, and the daily routines the window needs to support.