A motorized shade can look beautiful in a showroom and still disappoint if it sits slightly crooked, leaves an unexpected light gap, or loses power at the least convenient moment. This motorized shades installation guide explains what actually determines a polished result: precise measurements, the right mounting plan, a dependable power source, and programming that makes the shade easy to live with every day.
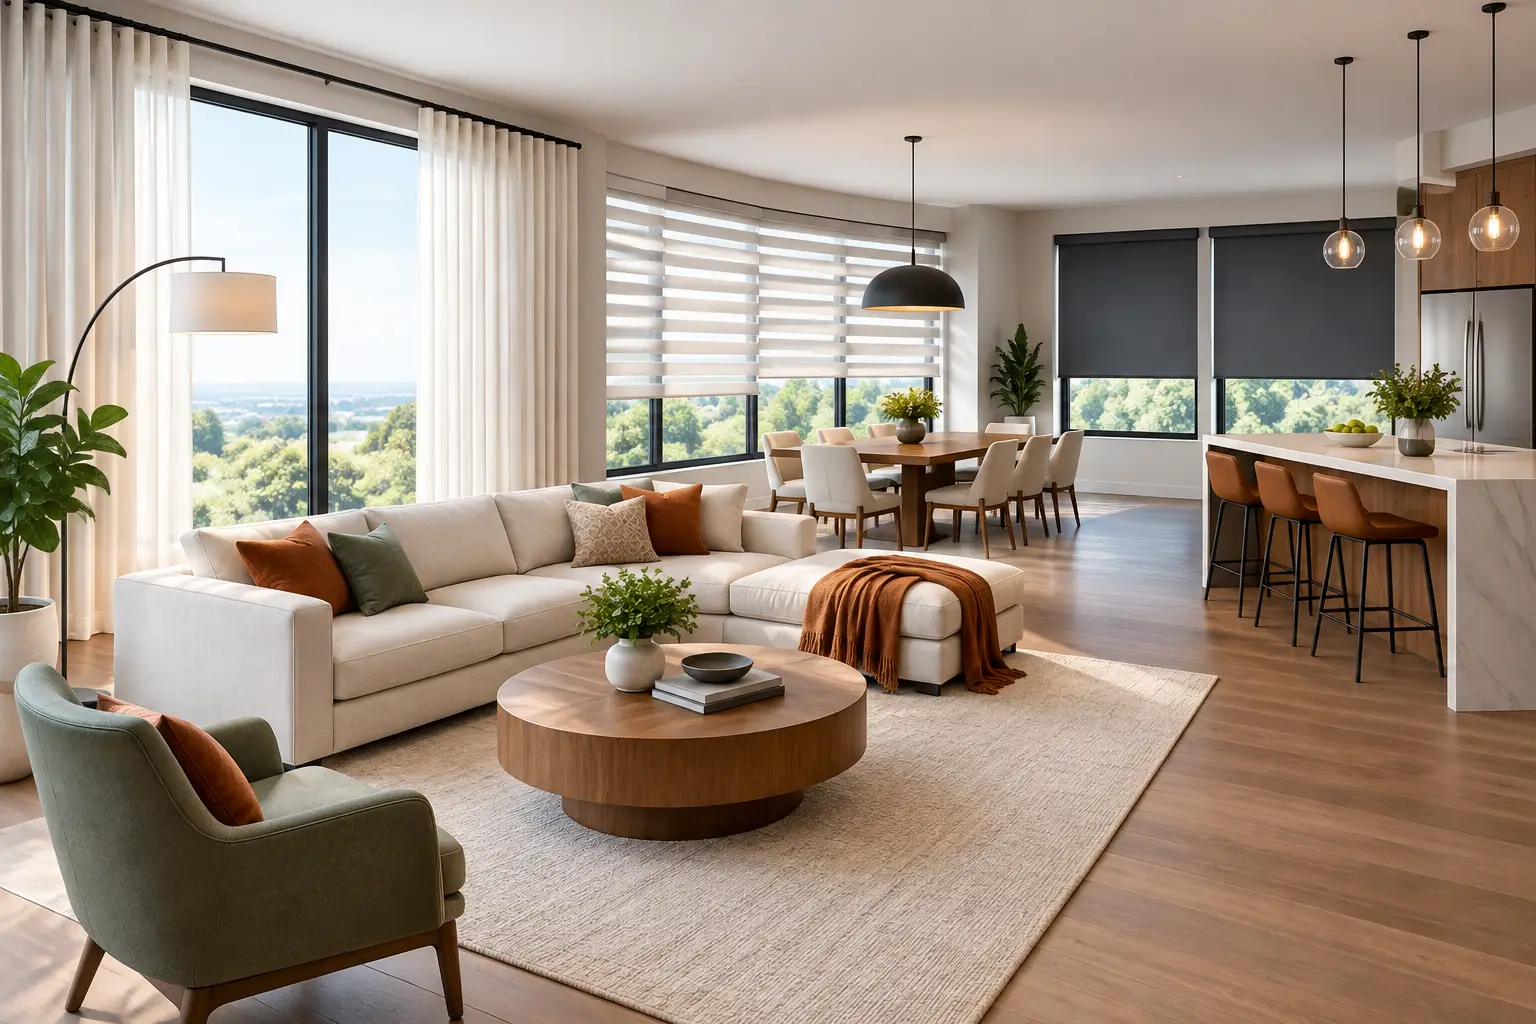
For homeowners in Northern Virginia, motorization is often about more than novelty. It can manage glare in a sunny great room, add privacy to a bedroom at night, protect furnishings from harsh afternoon light, and make tall or hard-to-reach windows practical. The installation details are what turn those benefits into a reliable part of your home.
Start With the Window, Not the Remote
The best installation plan begins with the window itself. Before selecting a shade fabric, control system, or power option, assess the opening, surrounding trim, wall construction, and the way the room is used. A clean contemporary window with a deep opening may suit an inside-mounted roller shade, while shallow openings, uneven trim, or decorative molding may call for an outside mount that covers the window more completely.
Inside mounts create a tailored, built-in appearance, but they demand accurate measurements at several points. Window openings are not always square, especially in older homes or homes with custom trim. Even a small variation can affect how the shade rolls, where brackets sit, and how much light appears at the sides.
Outside mounts offer more flexibility. They can make a window appear larger, improve room darkening, and avoid conflicts with shallow jambs or handles. The trade-off is that the mounting surface must support the shade securely, and the chosen width and height need to look intentional in relation to the trim and wall.
For large picture windows, sliding doors, and banks of windows, it is also worth considering whether individual shades should operate independently or as a coordinated group. One continuous visual line can look luxurious, but the right answer depends on window size, fabric weight, and how often each opening needs separate control.
Choose a Power Method Before Installation Day
Motorized shades need a power plan. This decision affects appearance, maintenance, cost, and installation timing more than many homeowners expect. There is no universal best choice. The right option depends on the room, the number of shades, access to electricity, and whether the project is part of a renovation.
Battery-powered shades
Battery-powered motorization is a practical choice for many existing homes because it does not require opening walls or adding an outlet near every window. The batteries are usually concealed in a tube or wand, or placed in a discreet rechargeable pack. This keeps the installation clean and can make motorization accessible in rooms where electrical work would be disruptive.
The consideration is maintenance. Battery life varies based on shade size, fabric weight, frequency of use, and whether the shade is part of a scheduled automation routine. A shade operated twice a day will need attention sooner than one used occasionally. Rechargeable systems reduce replacement costs, but the battery still needs to be charged at a convenient time.
Plug-in and hardwired shades
Plug-in motors provide consistent power when an outlet can be concealed nearby. They can be a smart solution for a media room, home office, or other space where shades are used frequently and a cord can be routed neatly.
Hardwired motorized shades are often the preferred choice for new construction, major remodeling, and whole-home automation. Wiring is hidden within the wall, so there are no batteries to monitor and no visible cords to manage. Planning must happen early, however. The electrician, window treatment professional, and homeowner should agree on wire locations before drywall is complete. Moving that decision to the end of a project can add unnecessary cost and limit the finished appearance.
Solar charging can extend the time between battery charges on certain systems. It is especially useful on bright windows, although its performance depends on available sunlight and the shade’s location. It should be treated as a helpful charging option, not a substitute for evaluating the full power plan.
The Motorized Shades Installation Process
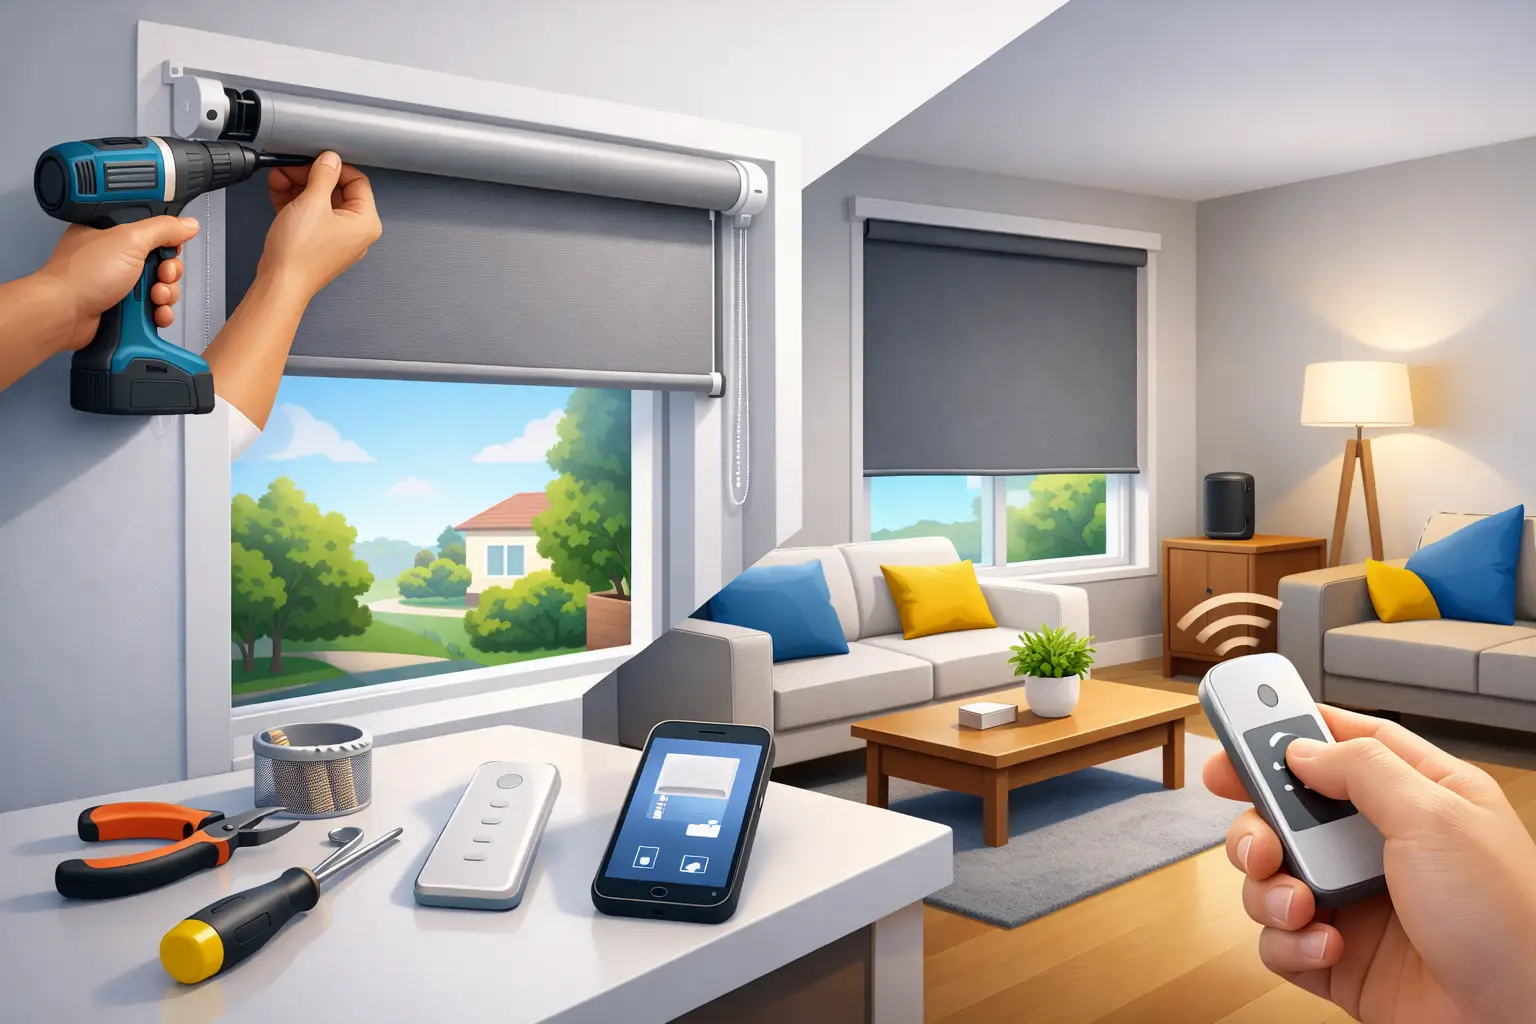
Professional installation follows a deliberate sequence because the hardware, fabric, motor, and controls all need to work together. Rushing any one step can lead to a shade that functions, but does not look or perform like a custom product should.
1. Confirm final measurements and mounting locations
Measurements are checked before brackets are installed. This includes the width and height of the opening, the depth available for the selected product, and any obstructions such as cranks, handles, alarms, or nearby cabinetry. Installers also confirm that each bracket location has a sound mounting surface.
Drywall alone may not be sufficient for a wide or heavy shade. Depending on the product and wall construction, brackets may need to be anchored into framing, wood blocking, or appropriate hardware. This is particularly important for oversized roller shades, dual shades, and exterior-facing applications that may be subject to additional force.
2. Install brackets level and square
Brackets must be aligned precisely. A shade can be only slightly out of level and still draw attention every time it moves. Proper alignment helps the fabric roll evenly, protects the mechanism from unnecessary wear, and creates the crisp lines homeowners expect from custom window coverings.
The installer positions the brackets according to the manufacturer’s spacing requirements, secures them, and checks alignment before the shade is fully seated. On an outside mount, this step also confirms that the shade is centered visually, not merely centered according to a tape measure. Trim, furniture placement, and adjacent windows can change what looks balanced in the room.
3. Mount the shade and test movement
Once the shade is secured in its brackets, it is raised and lowered several times. The installer watches for rubbing, uneven fabric roll, incomplete travel, or contact with trim and handles. A properly installed motorized shade should move smoothly and stop where intended without pulling to one side.
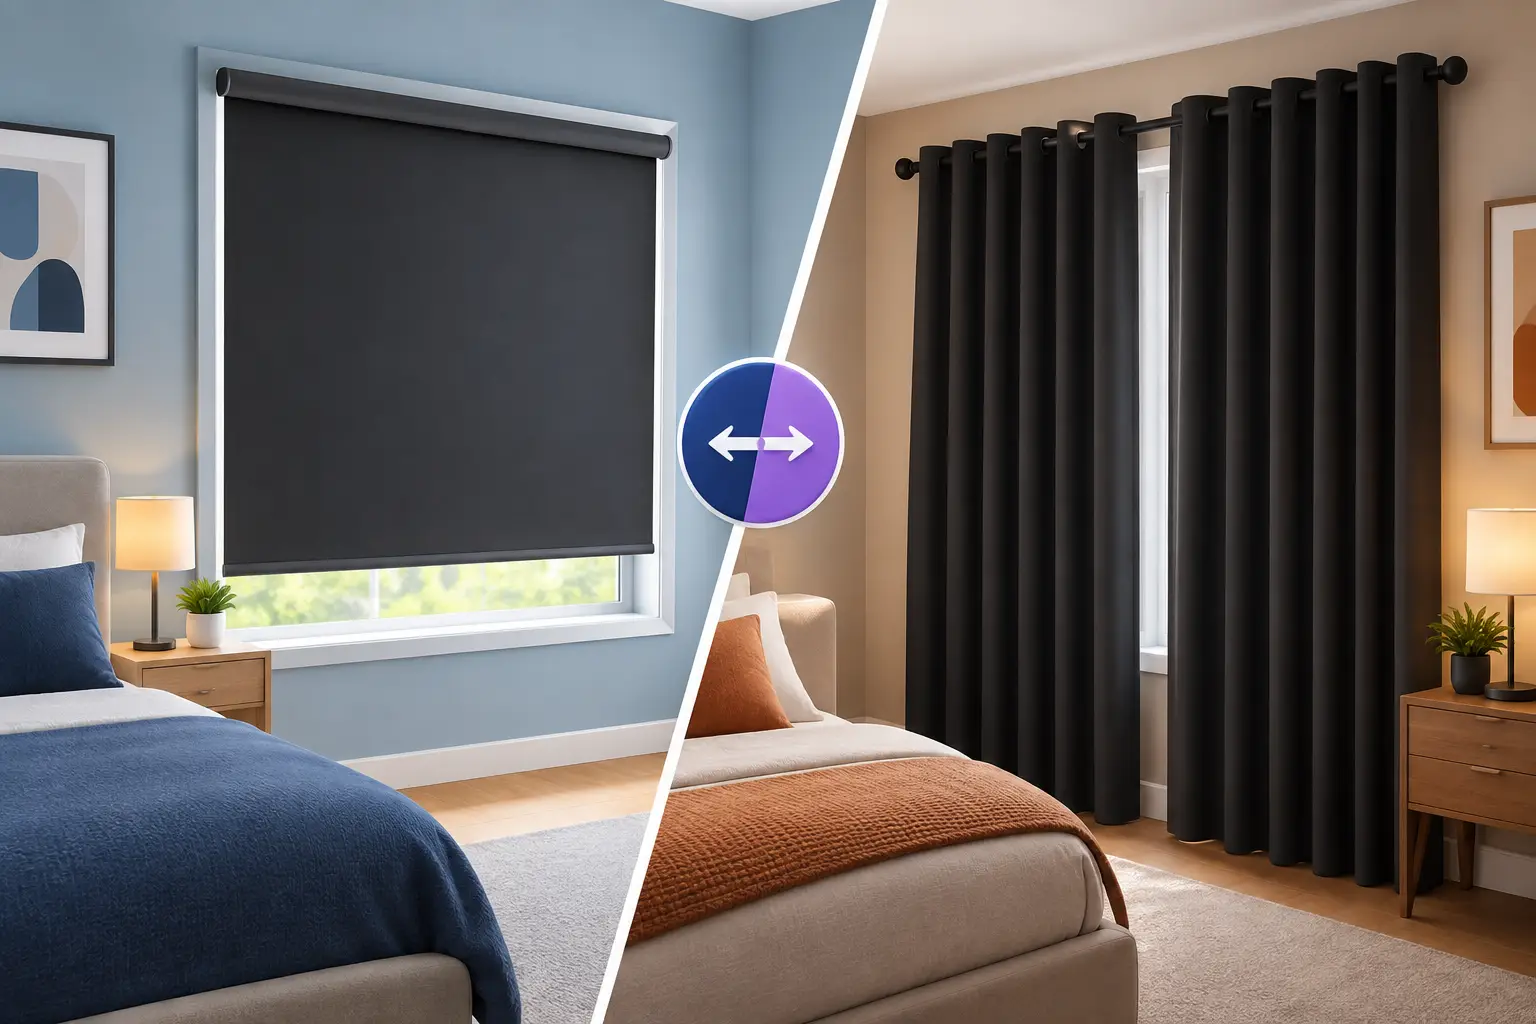
For room-darkening designs, this is also the time to assess light gaps. No standard shade will create total darkness at every edge, particularly with an inside mount. Side channels, a wider outside mount, or a layered treatment may be better options when a bedroom or media space needs stronger light control.
4. Program limits, remotes, and smart controls
The motor needs upper and lower limits so it knows exactly where to stop. Those limits protect the shade from over-travel and make daily operation predictable. Remotes can then be paired to individual shades, grouped by room, or programmed with favorite positions.
Smart-home integration adds another layer of convenience, but it should be configured around real routines. A simple schedule that lowers west-facing shades in late afternoon can be more valuable than a complicated system no one uses. Families may prefer a single wall control for common areas, while bedrooms often benefit from individual controls and scheduled wake-up settings.
Wi-Fi strength matters when shades connect through a hub or home network. Larger homes, stone walls, and equipment closets can create weak spots. Testing controls from the rooms where they will be used prevents frustrating surprises after the installer leaves.
5. Finish with a homeowner walkthrough
A quality installation is not complete when the last bracket is tightened. The homeowner should know how to operate each control, recharge or replace batteries when applicable, use manual overrides, and reset the system if a remote is replaced. This walkthrough is also the right time to confirm that fabric, valances, and shade positions match the original design vision.
When DIY Installation Makes Sense, and When It Does Not
A handy homeowner can install some smaller battery-powered shades, particularly on straightforward windows with solid wood trim and no smart-home integration. The savings can be meaningful when the product is simple, the measurements are certain, and a minor adjustment would not be a major problem.
The risks rise with larger windows, multiple shades that must align, hardwired power, high ceilings, recessed pockets, blackout requirements, and custom draperies or valances that need to coordinate with the shade. Measuring errors can be expensive because custom products are made to the specifications provided. Electrical work also belongs with qualified professionals, especially when it involves concealed wiring.
Professional installation brings value beyond labor. It provides a trained eye for proportion, mounting challenges, fabric behavior, control placement, and the details that separate a functional shade from a finished room. At Covering Windows, that hands-on guidance starts before an order is placed, so the design, power method, and installation plan support one another from the beginning.
Plan for Long-Term Performance
Motorized shades need little routine care, but a few habits protect the investment. Keep the fabric free of dust with gentle vacuuming or a light microfiber wipe, avoid pulling on the shade hem bar, and keep batteries charged before they are fully depleted. If a shade begins moving unevenly or stops short of its programmed position, do not force it. A quick service adjustment is usually far easier than repairing damage caused by repeated use.
For homeowners considering motorization across several rooms, start with the spaces where the benefit is most immediate: difficult windows, sun-heavy rooms, bedrooms, and areas where privacy changes throughout the day. Once the installation is planned around how your household actually lives, motorized shades become less of a gadget and more of a quiet daily comfort that makes the entire room feel considered.